
Stock

1. After opening your photo, create a new selective color layer:
Reds: -100,-100,46,0
Greens:100,-100,-100,0
Cyans: 100,69,-33,24
Blues: -59,22,76,0
Magentas: -100,100,24,0

2. Merge all layers then duplicate it, choose Gassian blue with 3 px. Add layer mask to eraser blurred effect on the model.

3. Merge all layers and duplicate again. Choose Filter-Pixelate-Mosaic with cell size =20. Then choose Stylize-Glowing edges with Edge width=1, Edge brightness=20, smoothness=1. Change the mode to Linear Dodge 80%. Add layer mask to blur this effect on model and all around her.

4. Add a new layer, i use some star brush ( that you can download many kinds from Deviantart) to decorate the pic:
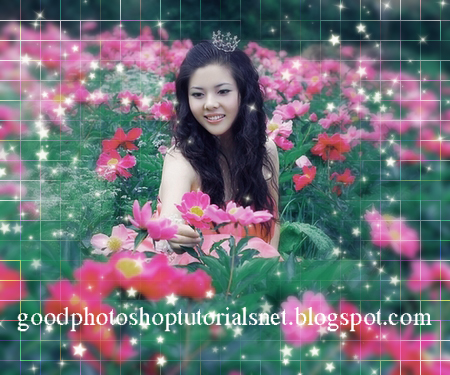
5. I use color e8b9fa to fill up and set it to Overlay 80%. Add layer mask to clear the model face.
Now the effect is done!


